 Installing Eclipse
| Installing Eclipse |
Home • Eclipse Overview • Installing Eclipse • Verifying Installation |
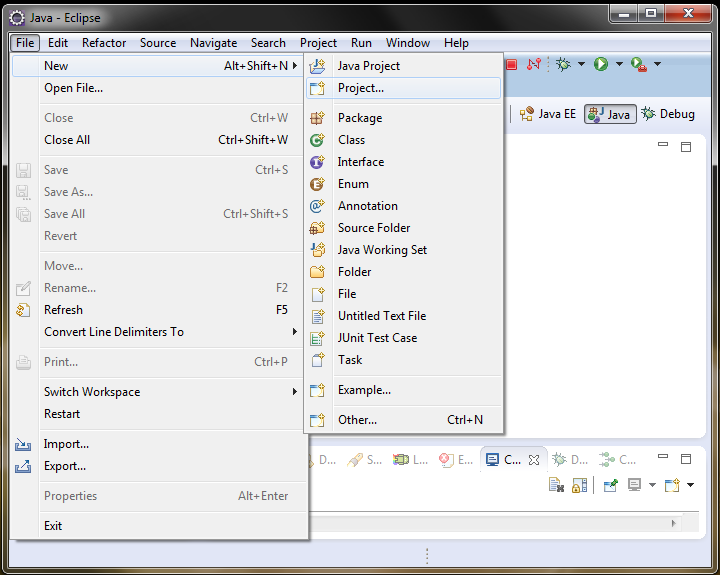 If you are in the welcome screen, click on the Workbench button on the right side of the screen. Create a new project by going to File -> New -> Project
 A New Project dialog will appear. Expand java and select Java Project. Then click Next.
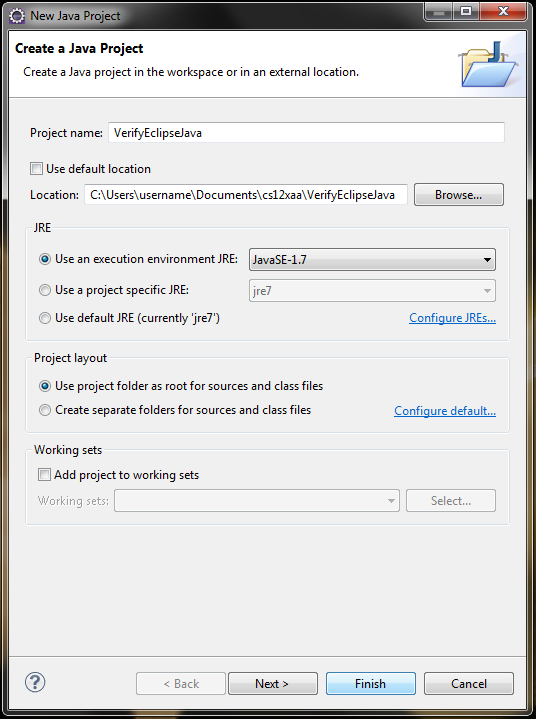 Type in a name for the project, such as VerifyEclipseJava. Within the Project Layout section, select Use project folder as root for sources and class files and click Finish. Click Yes if prompted to open Java perspective.
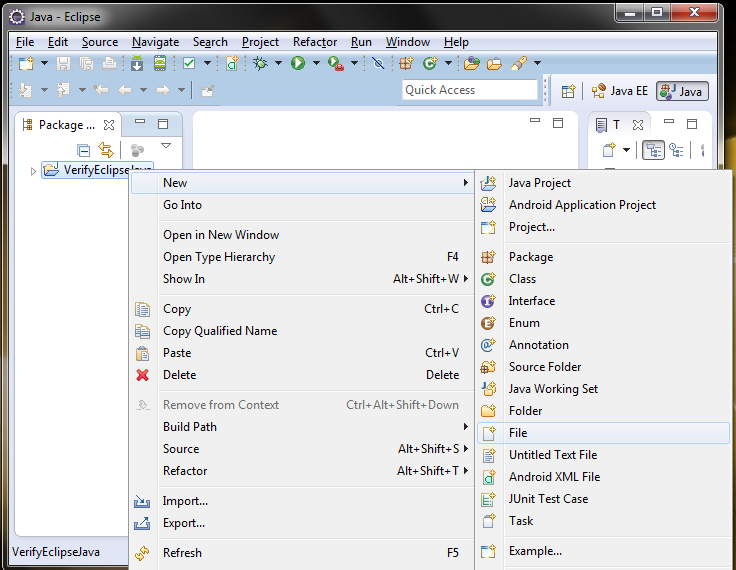 Right-click on the VerifyEclipseJava folder in the Project Explorer and go to New -> File.
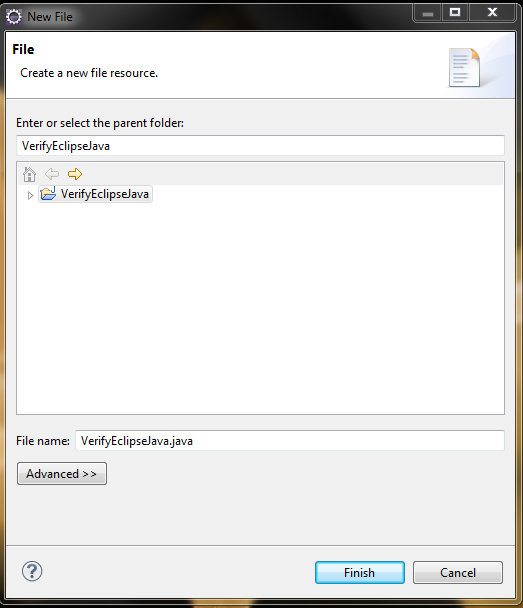 For the new file name, type VerifyEclipseJava.java, and click Finish. A new file will be added to the project and opened for editing.
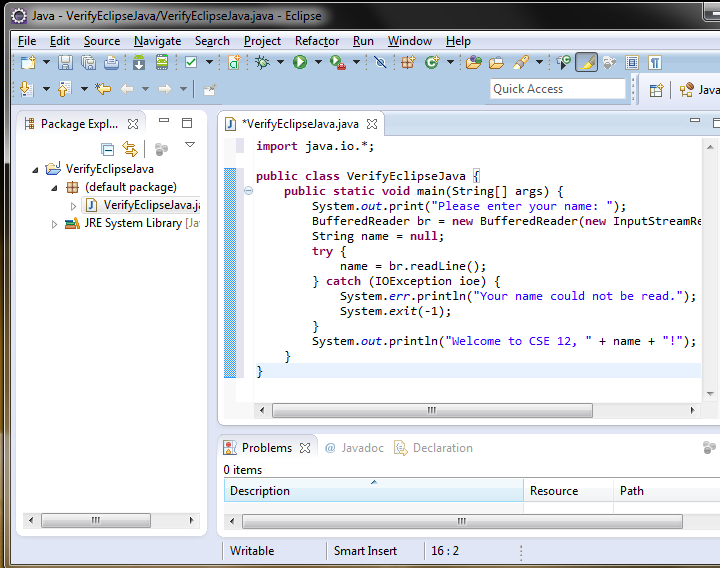 Type in the following code and save it when you're done.
After you copy the code to your editor, select all (Ctrl + A) and press Ctrl + Shift + F to automatically format the code.
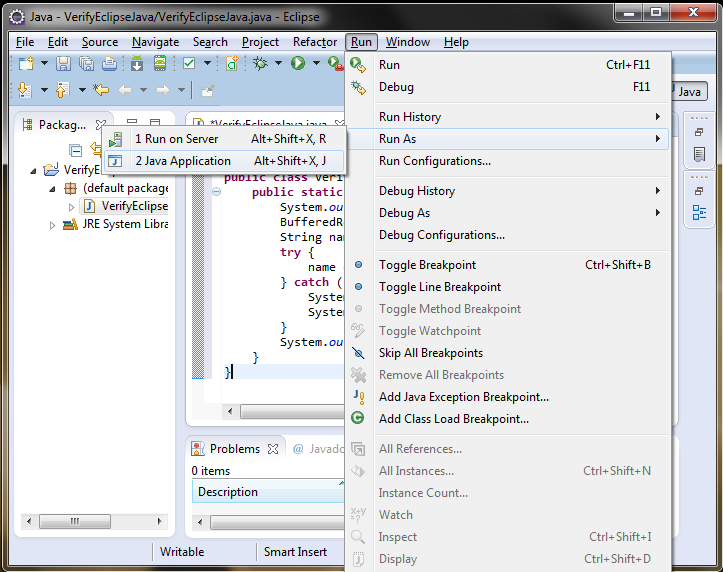 Run your project by going to Run -> Run As -> Java Application.
 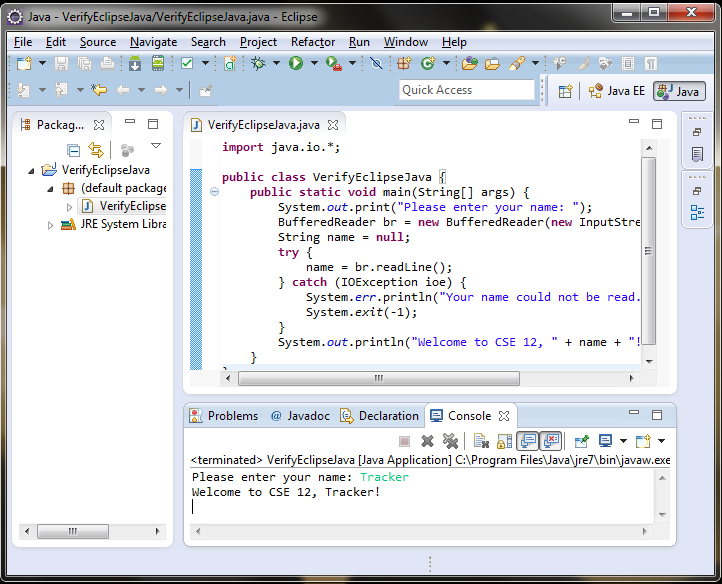 The output should show up in the Console view. Type in your name and press <enter>.
| Installing Eclipse |
Home • Eclipse Overview • Installing Eclipse • Verifying Installation |